
Sparkling wine is the perfect drink to serve at your next party or special occasion. You can even use it as part of your gift baskets to give to your loved ones, but if you’re like most people, you don’t want to pay $30+ for a bottle of sparkling wine when you can get the same quality (or better) at a local liquor store for about $5. Well, you don’t have to! It’s easy to make your own sparkling wine at home and still spend less than $5 per bottle!
Step 1: Gather Equipment
To make your own sparkling wine, you’ll need a few things first: a pressure cooker; enough bottles and corks for that many gallons of wine; sugar (about 1.5 pounds); yeast (one package will do—just check to make sure it is alcohol-resistant); and stabilizers (you can use potassium sorbate or potassium metabisulfite). You can find all of these items online or at home-brew shops. The cost will be between $20 and $100, depending on how much wine you want to make.
Step 2: Make a simple sugar syrup
In a saucepan over medium-high heat, bring sugar and 1⁄4 cup of water to a boil. Once sugar has dissolved (about 2 minutes), remove from heat and allow syrup to cool completely. The colder you can get your simple syrup, the less likely it is that fermentation will occur before you’re ready for it. You also want your simple syrup cold enough so that when you combine it with wine, no extra fermentation occurs. This means if your temperature is too high (like if you keep it in a warm kitchen) or your syrup sits for too long before combining with wine, there’s a chance fermentation will begin even before you pitch yeast! Both of these scenarios result in big bubbles and are not good for making sparkling wine.
Step 3: Add Sparkling Wine Yeast
You should add your sparkling wine yeast once your must is between 60-75 degrees Fahrenheit (15.5-24°C). At that temperature, you’ll have a good chance of starting fermentation immediately. It’s okay if it’s not perfectly within that range, but ideally you’re close. If you’re using yeast cake that came in a package, you don’t have to worry about what temperature it should be; just sprinkle it on top of your must and you’re all set!
Step 4: Wait for the yeast to do its thing
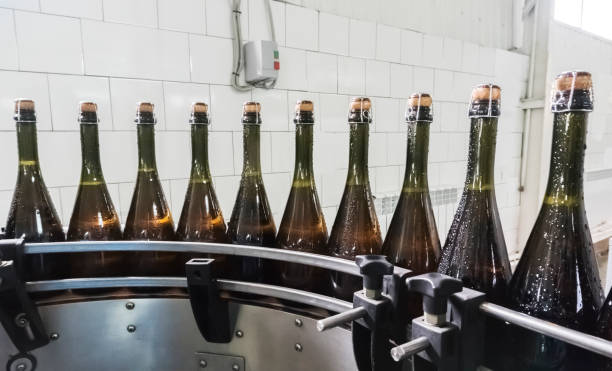
After a day or two, your juice will start bubbling as carbon dioxide is released. Once it’s been bubbling for three days in total, it’s time to bottle your wine. You can either do so by siphoning off into clean bottles (though be careful of foaming) or if you want a non-traditional appearance and mouthfeel, leave it in its carboy for another few months. If you choose to go with bottles, make sure they are sterilized first. Also note that sparkling wine takes longer than still wine to age properly—so don’t rush it!
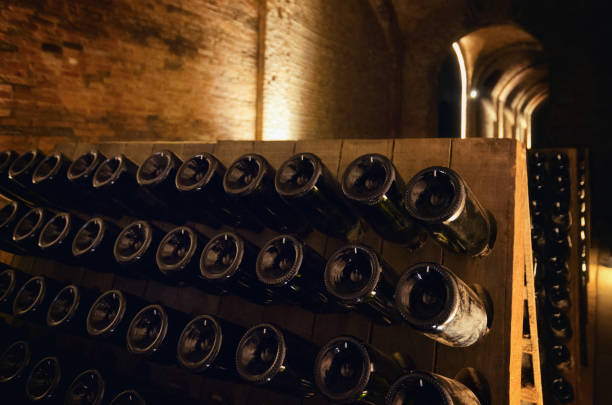
Step 5: Bottle the Finished Product and Store it in a Cool Place
Once your wine is fully carbonated, it’s time to bottle! If you have some empty champagne bottles lying around, great. If not, you can buy them at home-brew supply stores or online. The same goes for corks and any other supplies. You will also need a siphon tube (about $10). Pour your wine into a bucket of cold water and leave it there for about 20 minutes—the sediment will sink to the bottom so you won’t be accidentally sucking any up with your siphon later on. Carefully pour off (or suck) as much wine from the top of your carboy as possible without disturbing the sediment that settled on the bottom.